Outdoor Computing 101
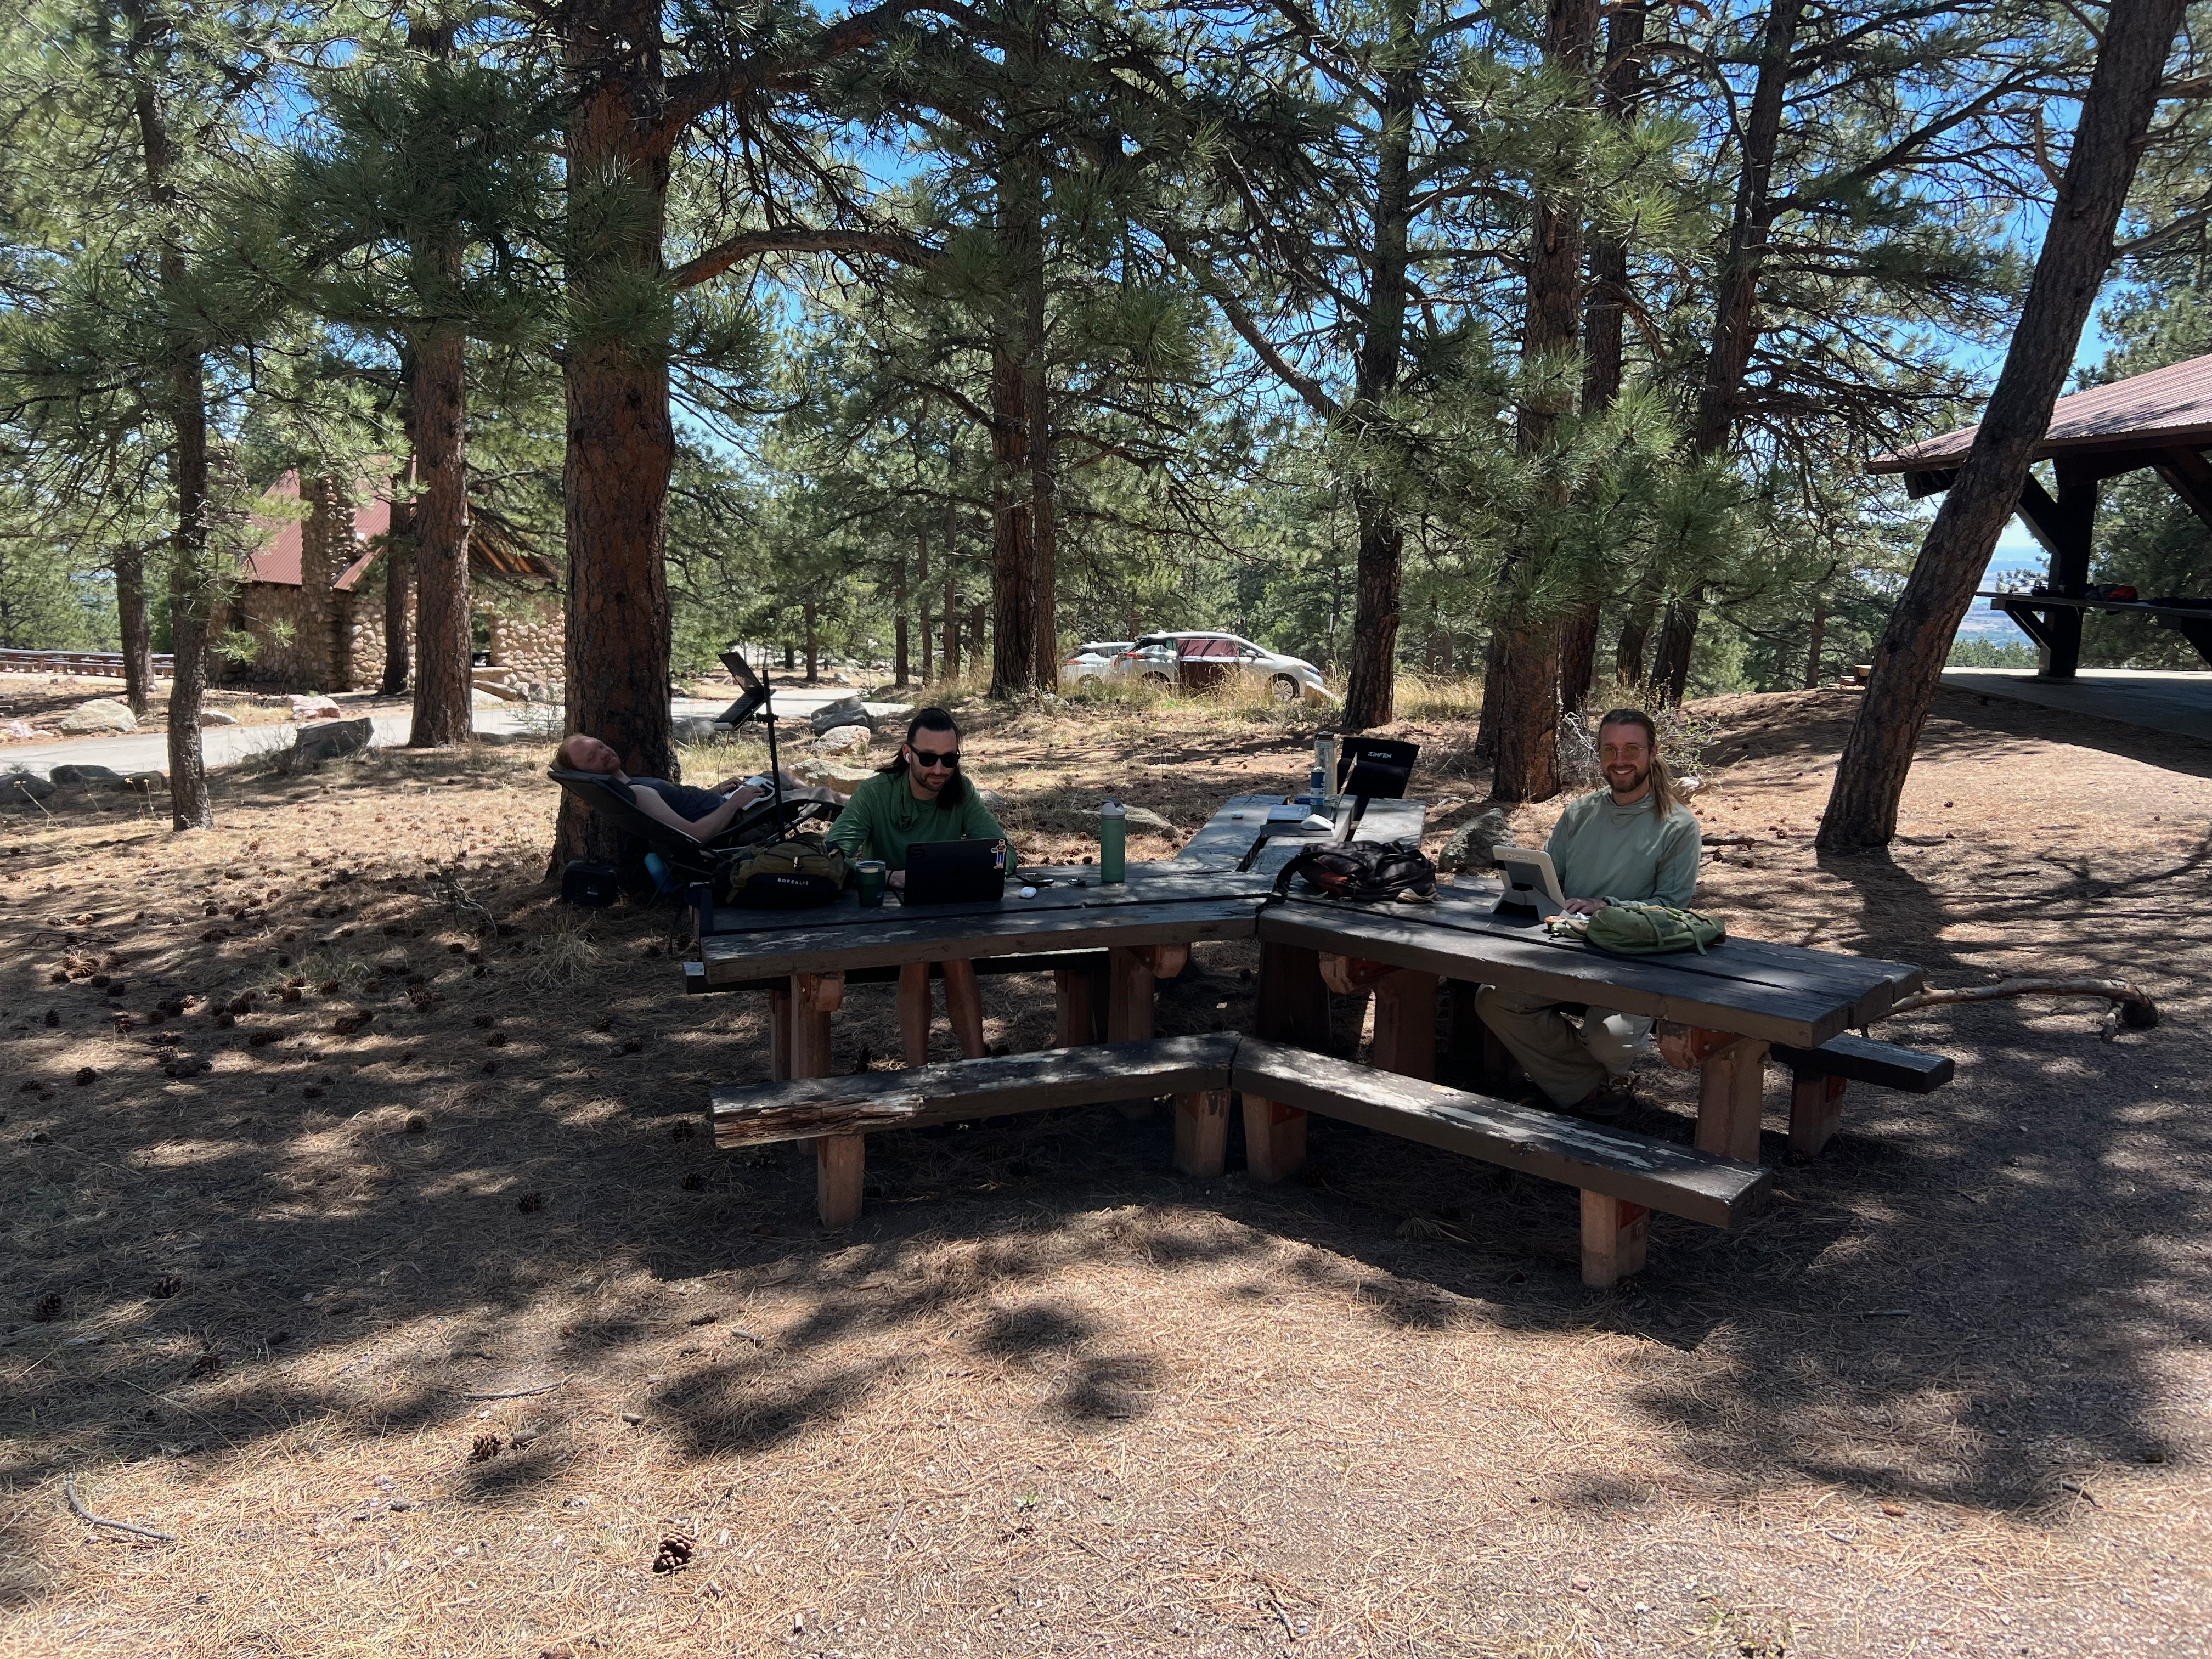
Outdoor computing allows me to take some of the time I spend indoors behind a desk and move it into nature, during the most beautiful parts of the day. It’s a wonderful way to hang out with people and enjoy the outdoors. In this post I cover the why and how to start (it’s easier than you think!)
There’s no right or wrong way to do outdoor computing, it’s up to you and what you find important, productive, and comfortable. These are just my opinions and experiences bundled into a post, hopefully to nudge someone from ’that seems interesting’ to ‘I know how to try it out’.
Shoutout to Michael Sloan’s Supine Computing post from 2019, eventually leading to many outdoor computing sessions together in Boulder, CO.
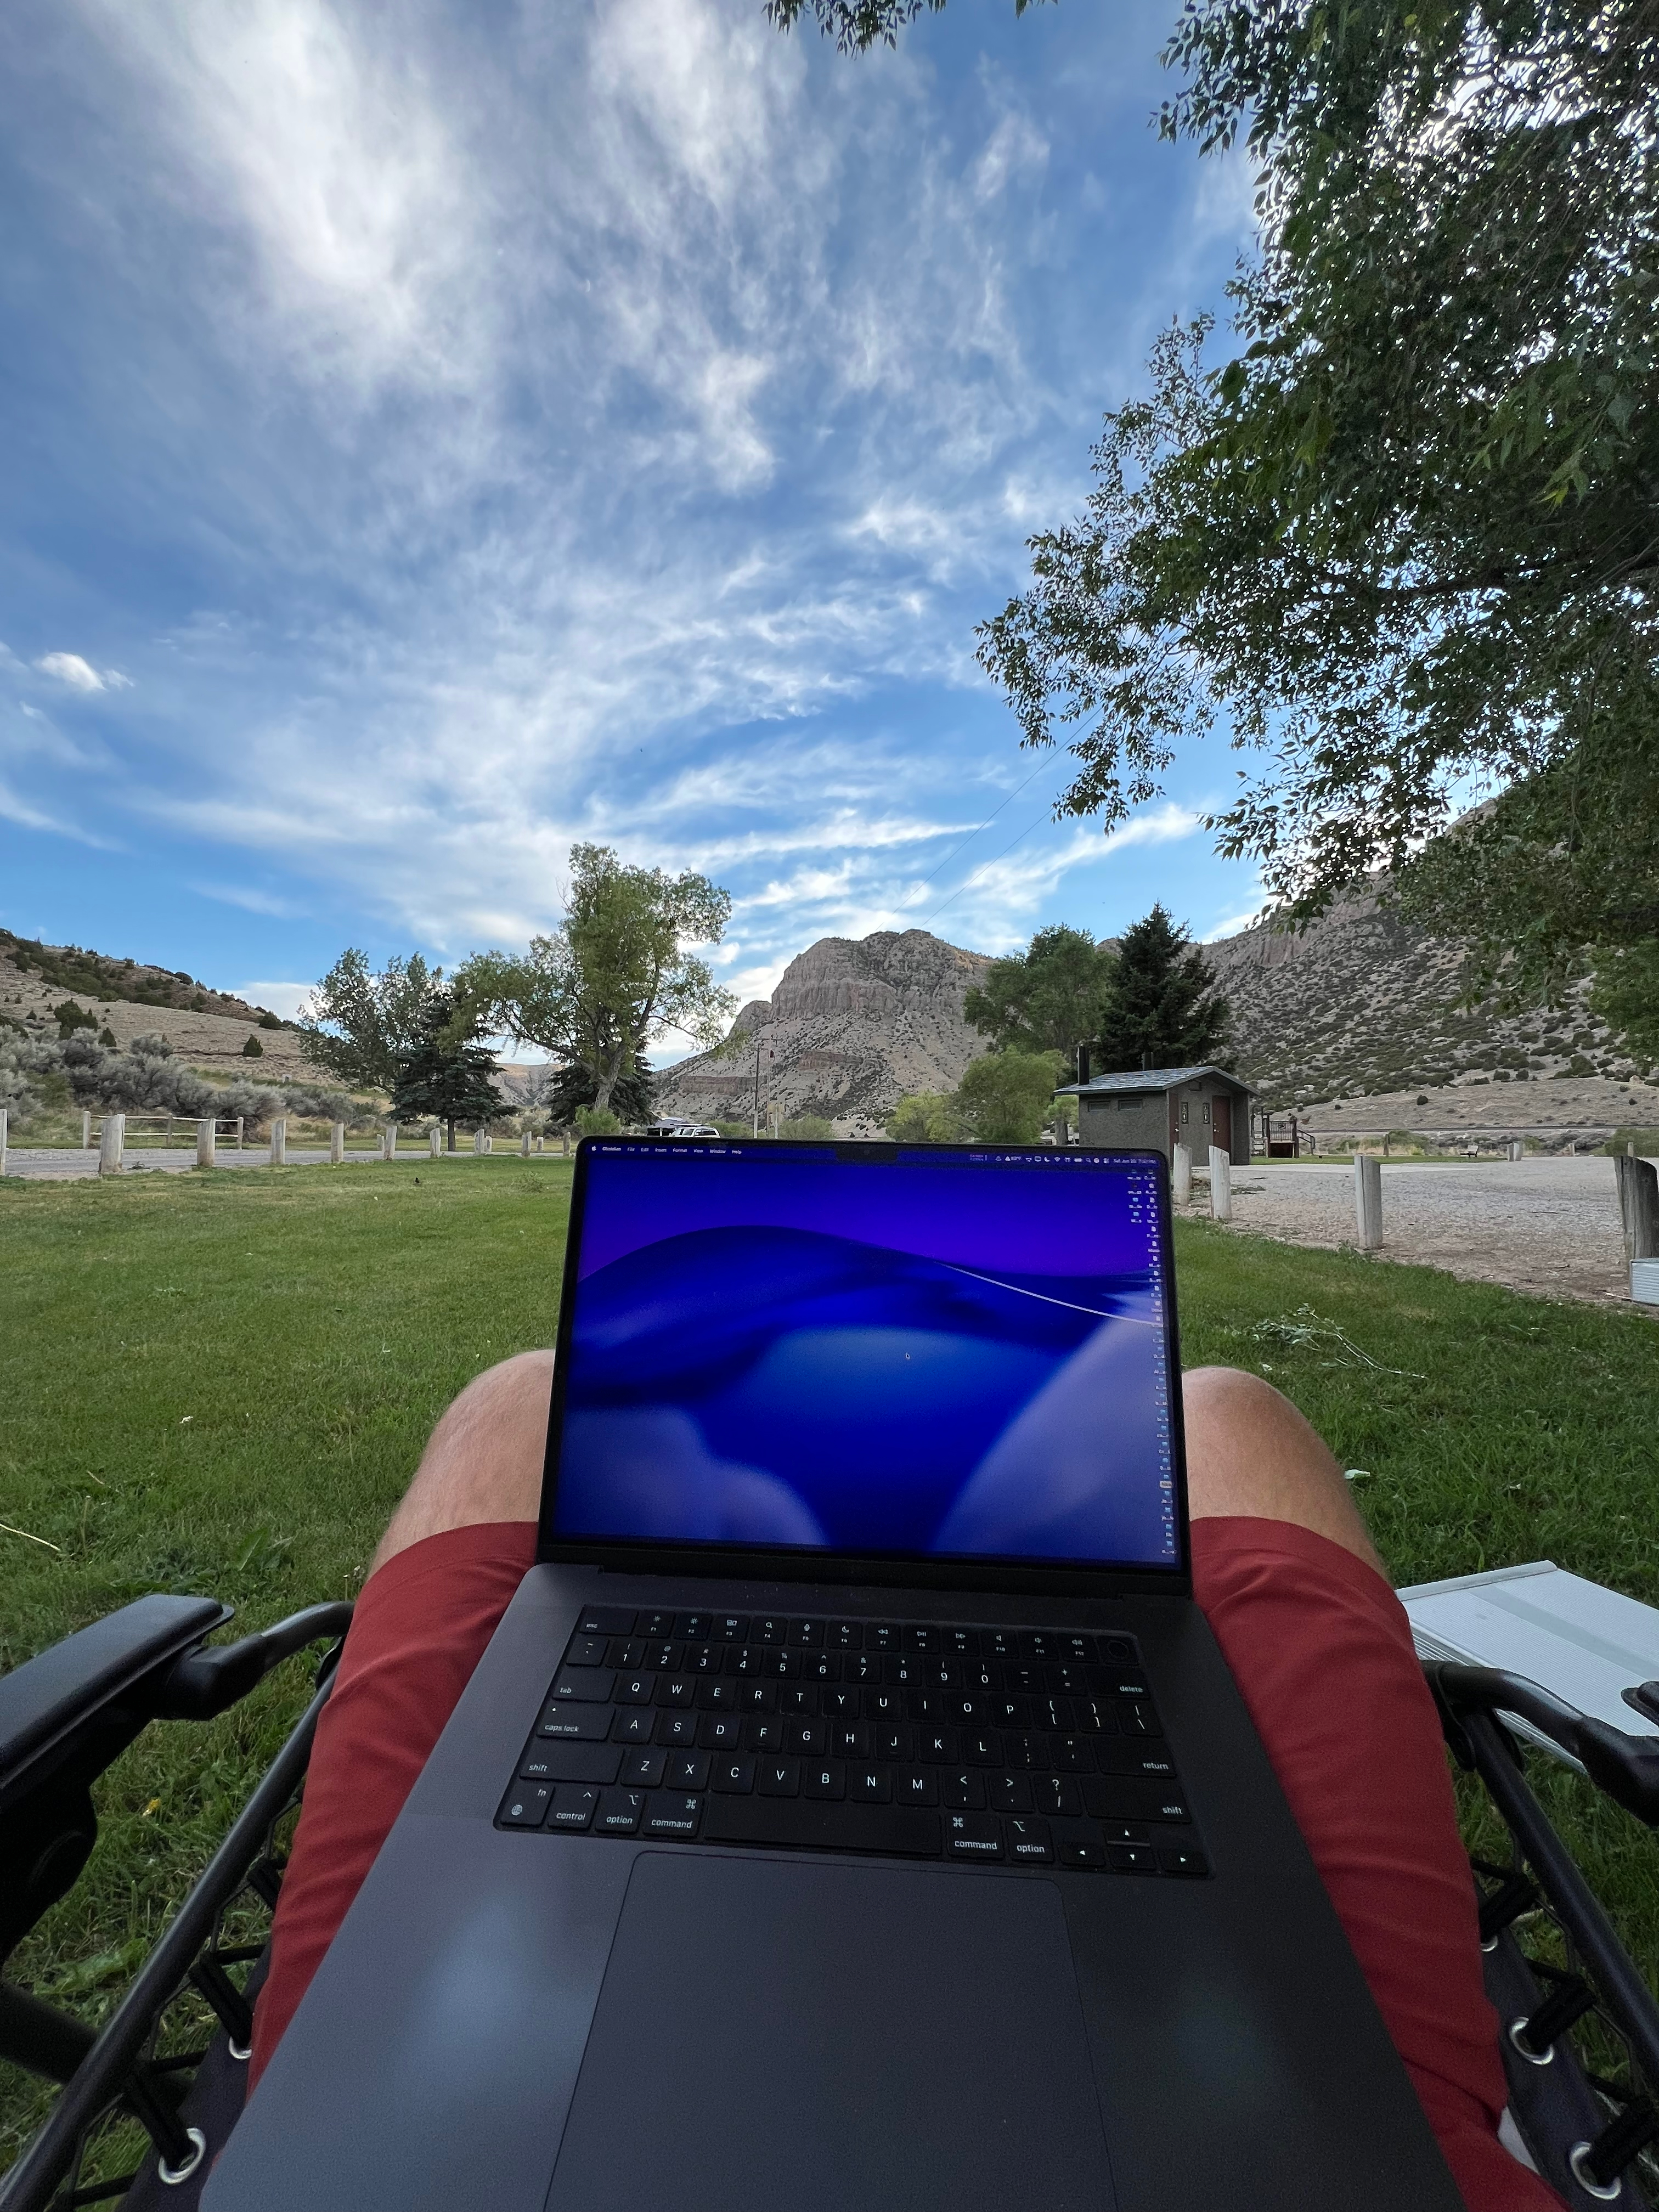
why? #
- It lets me spend more time outdoors during the limited summer months (and with the right equipment, the winter months too)
- helps me feel calmer and more grounded
- fun to cowork together instead of doing it alone
- hilarious and unexpected wildlife encounters (I’ve seen deer, wild turkeys, amazing birds, countless squirrels)
- meeting fun people who are outside in the middle of the day as well
- food tastes better outside, especially after you’ve worked for it
- it’s a fun technical challenge to figure out how to let several people take video calls 1,500 feet above the city
- practical way to get a nice hike or cold plunge in during the middle of the workday without anyone missing you
- I am more likely to stand up and walk around when outdoors than when I’m in my perfectly comfortable and balanced office configuration
Getting started #
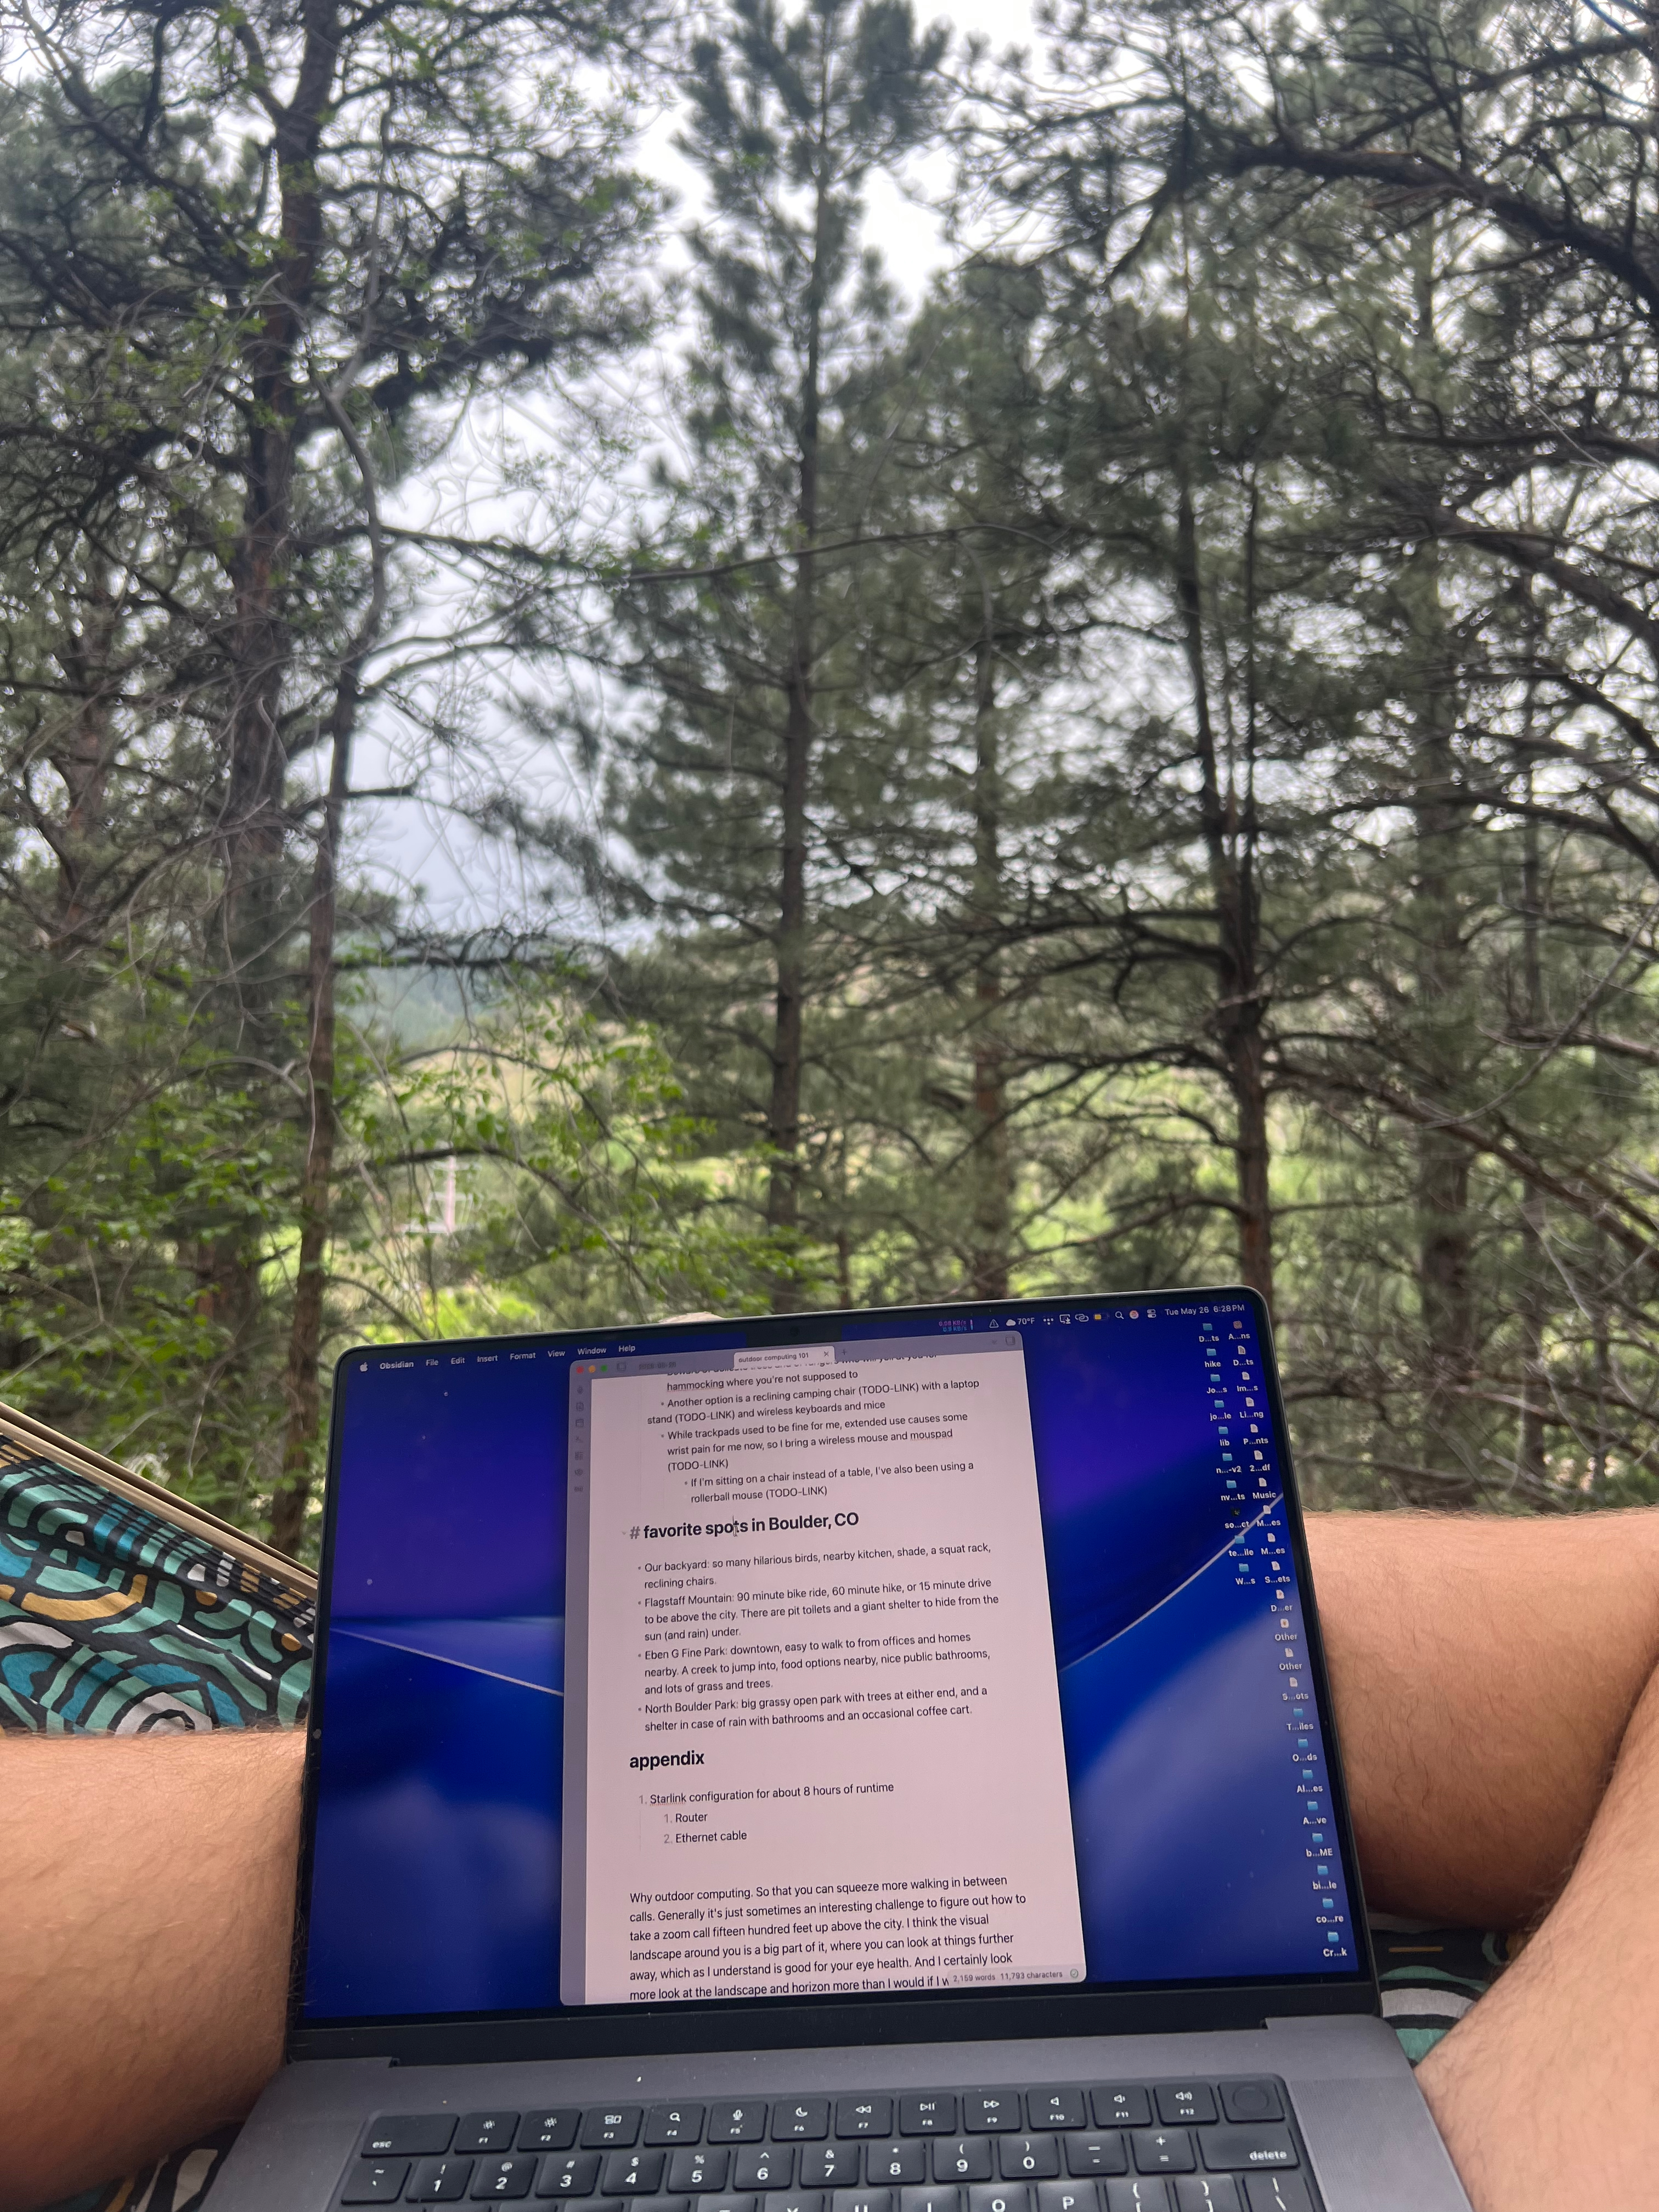
You don’t need anything more than a laptop to start - go into your backyard or a park down the street and find some shade and some place to sit. Consider trying it on a day when you don’t have as many meetings and obligations, or an afternoon after you’ve wrapped with calls for the day. See how well the wifi reaches in your backyard or tether from your phone. Try it out at a river walk in your city. Libraries and beer gardens often have nice outdoor seating, and hotels have some amazing rooftop patios sometimes.
The important thing is just getting outside with what you have already, and giving it a go. It’s a little bit like outdoor gear: recognizing what you actually need by its absence is a lot more affordable and efficient than trying to prepare with a list written by a company selling outdoor gear.
Getting more comfortable and productive #
If you’ve gotten outside but are hitting some comfort / productivity limitations, this next section is about optimizing for longer periods of time outdoors or in places further away from the amenities of buildings.
Treat this section as suggestions rather than a shopping list: this is a comprehensive list of everything I’ve used for different contexts, not what I bring every time.
- Shade is crucial: it helps to see what’s on your screen, and it’s nice to avoid sunburn while working.
- I like to find shelters or tree-shaded areas in parks
- Bringing a beach umbrella can offer shade where there isn’t otherwise
- A big enough hat and sunshirt will make even direct sunlight bearable, but actual shade is always preferred
- Light mode themes are much better for contrast and visibility outdoors than dark mode themes
- A laptop cover screen (Amazon, $40 - haven’t tried this one) will help reduce glare
- A matte screen protector (Amazon, $10 - haven’t tried) makes a screen a bit more visible outside
- The Apple nano texture display ($100 upgrade at time of purchase) improves readability outside (see my notes on it here)
- This app called BetterDisplay lets you boost your screen brightness even further on some MacBooks, draining the battery faster but becoming fully readable in direct sunlight
- Daylight Computer uses a reflective LCD screen, which is visible in direct sunlight at 0% brightness (like magic!) (see my notes on it here)
- An internet connection is usually required to do work - how well that connection works is up to you
- Some outdoor places are in range of public wifi, so always look around first - it’s cheaper to use someone else’s internet than to make your own
- Phone LTE/5G tethering is good enough for work like web browsing, emails, writing, etc - but fails for video calls, streaming, and intensive internet use
- I’ve had better success taking the video call on my phone while leaving the web browsing on my computer (tethering)
- Starlink is a great way of getting internet wherever. However, it requires batteries and a clear-enough view of the sky for ideal call quality (tree cover is your enemy here). It also has a monthly fee and sometimes kids use it as a launchpad when running around the park. We’ve had about 10 people on it at once wth nobody complaining.
- My full configuration is in the appendix at the end of the post.
-
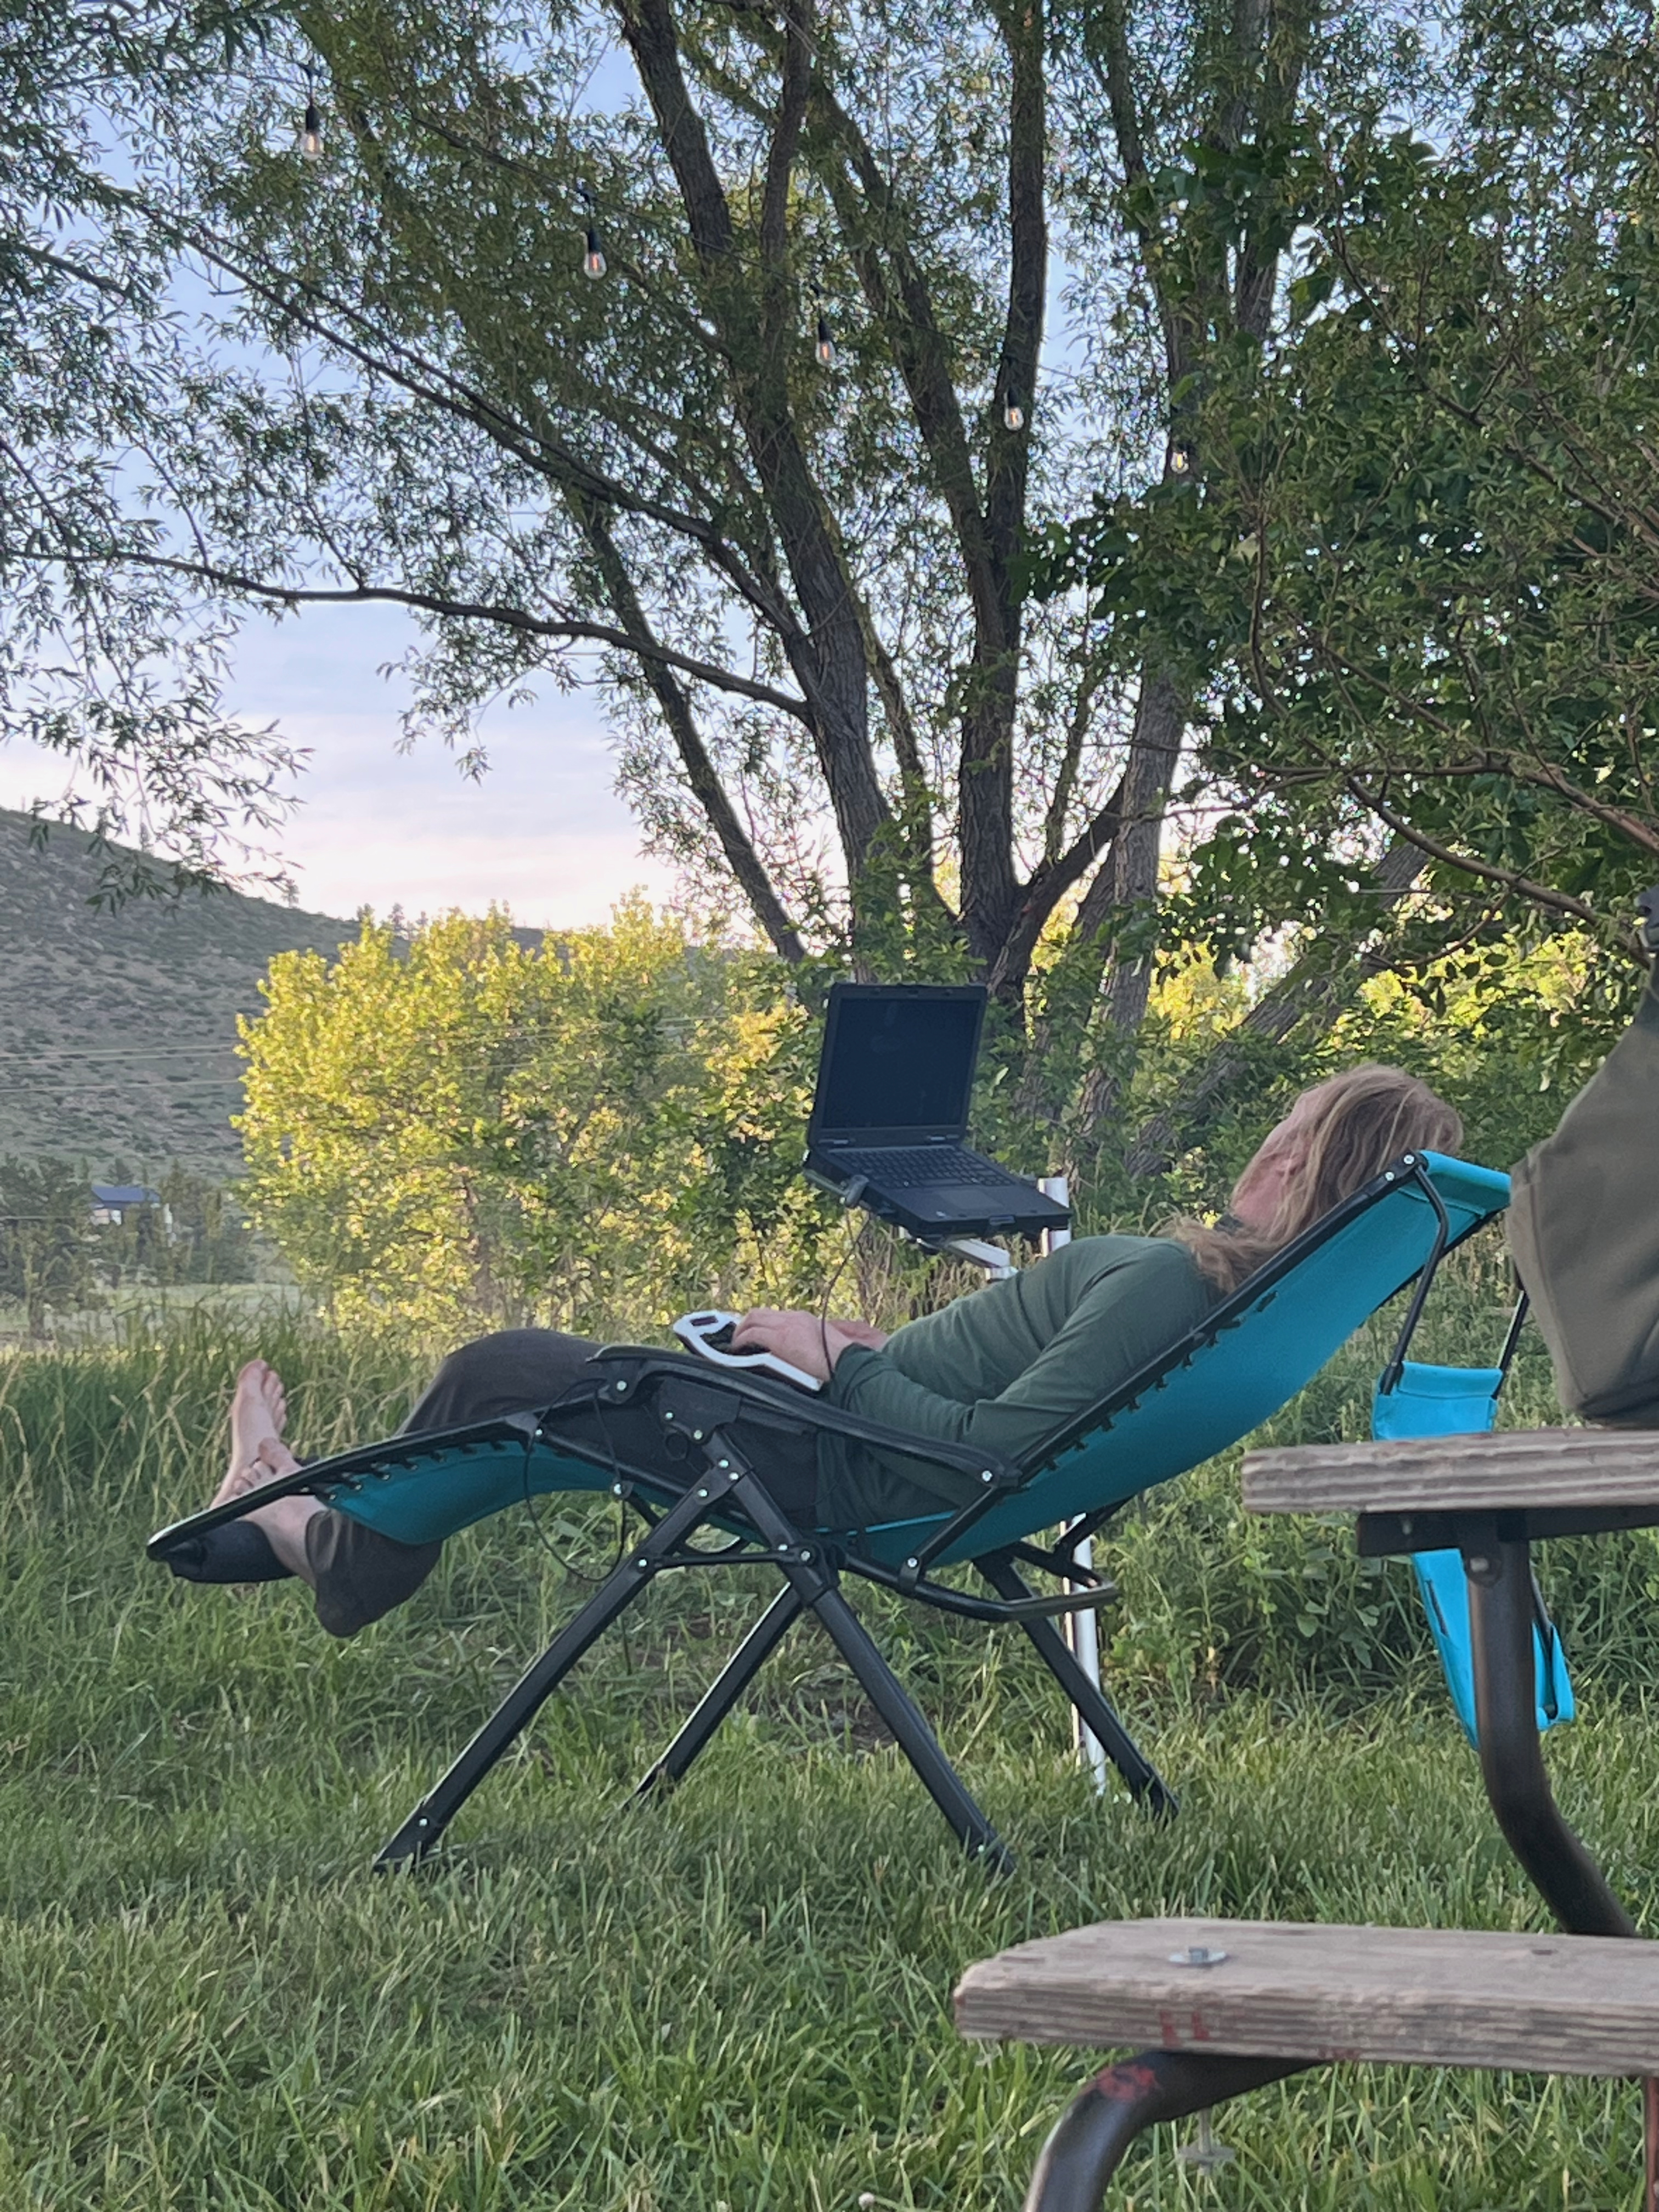
Ergonomics are not offered in nature by default. Sitting on a park bench for 6 hours straight is not the best idea for your butt.
- If you will sit on wood, consider a styrofoam pad or an extra hoodie.
- A camping chair (Amazon, $40, out of production but exists in similar forms) is a relatively easy and light way to improve comfort. Heavier but more comfortable is a reclining zero gravity camp chair (Amazon, $130)
- Michael brings a giant acro/climbing mat to lay down on it, with the laptop on his chest
- We sometimes use these laptop stands (Amazon, $99) with wireless keyboards and mice for better posture
- I’ve accidentally knocked these stands over with my laptop on it while getting up a few times, my laptop is pretty banged up from these accidents. Be careful, get a more durable laptop, or buy insurance.
- A hammock (Doublenest Eno is what I use - REI, $80) is a comfortable and cheap way to get more horizontal. Beware delicate trees and of rangers who will yell at you for hammocking where you’re not supposed to, and of course of falling out
- While trackpads used to be fine for me, extended use causes some wrist pain for me now, so I bring this Logitech scrollball mouse (Amazon, $100), or a regular mouse and mousepad, and maybe something to put under the mousepad
-
Battery life is an important constraint, but also workable
- In general, expect 2-6 hours of use from a typical laptop. This can be extended to some extent, but be ready to bring external battery packs (like this one on Amazon, $80) to double or triple your battery life.
- Make sure it advertises “Fast charging” or similar, otherwise it will barely keep your laptop topped up while running or worse. I was curious as to the difference between cheap and expensive battery packs, and this is one of the most significant factors.
- Things that hurt battery: heavy apps like Chrome, Notion, Zoom video calls, a local programming environment, lots of Wifi use, anything that makes your computer hot
- Things that help battery life: Safari over Chrome, closing unused apps, Apple’s “Low Power” Battery setting, lower screen brightness, WiFi off (can be a free productivity boost as well)
- In general, expect 2-6 hours of use from a typical laptop. This can be extended to some extent, but be ready to bring external battery packs (like this one on Amazon, $80) to double or triple your battery life.
-
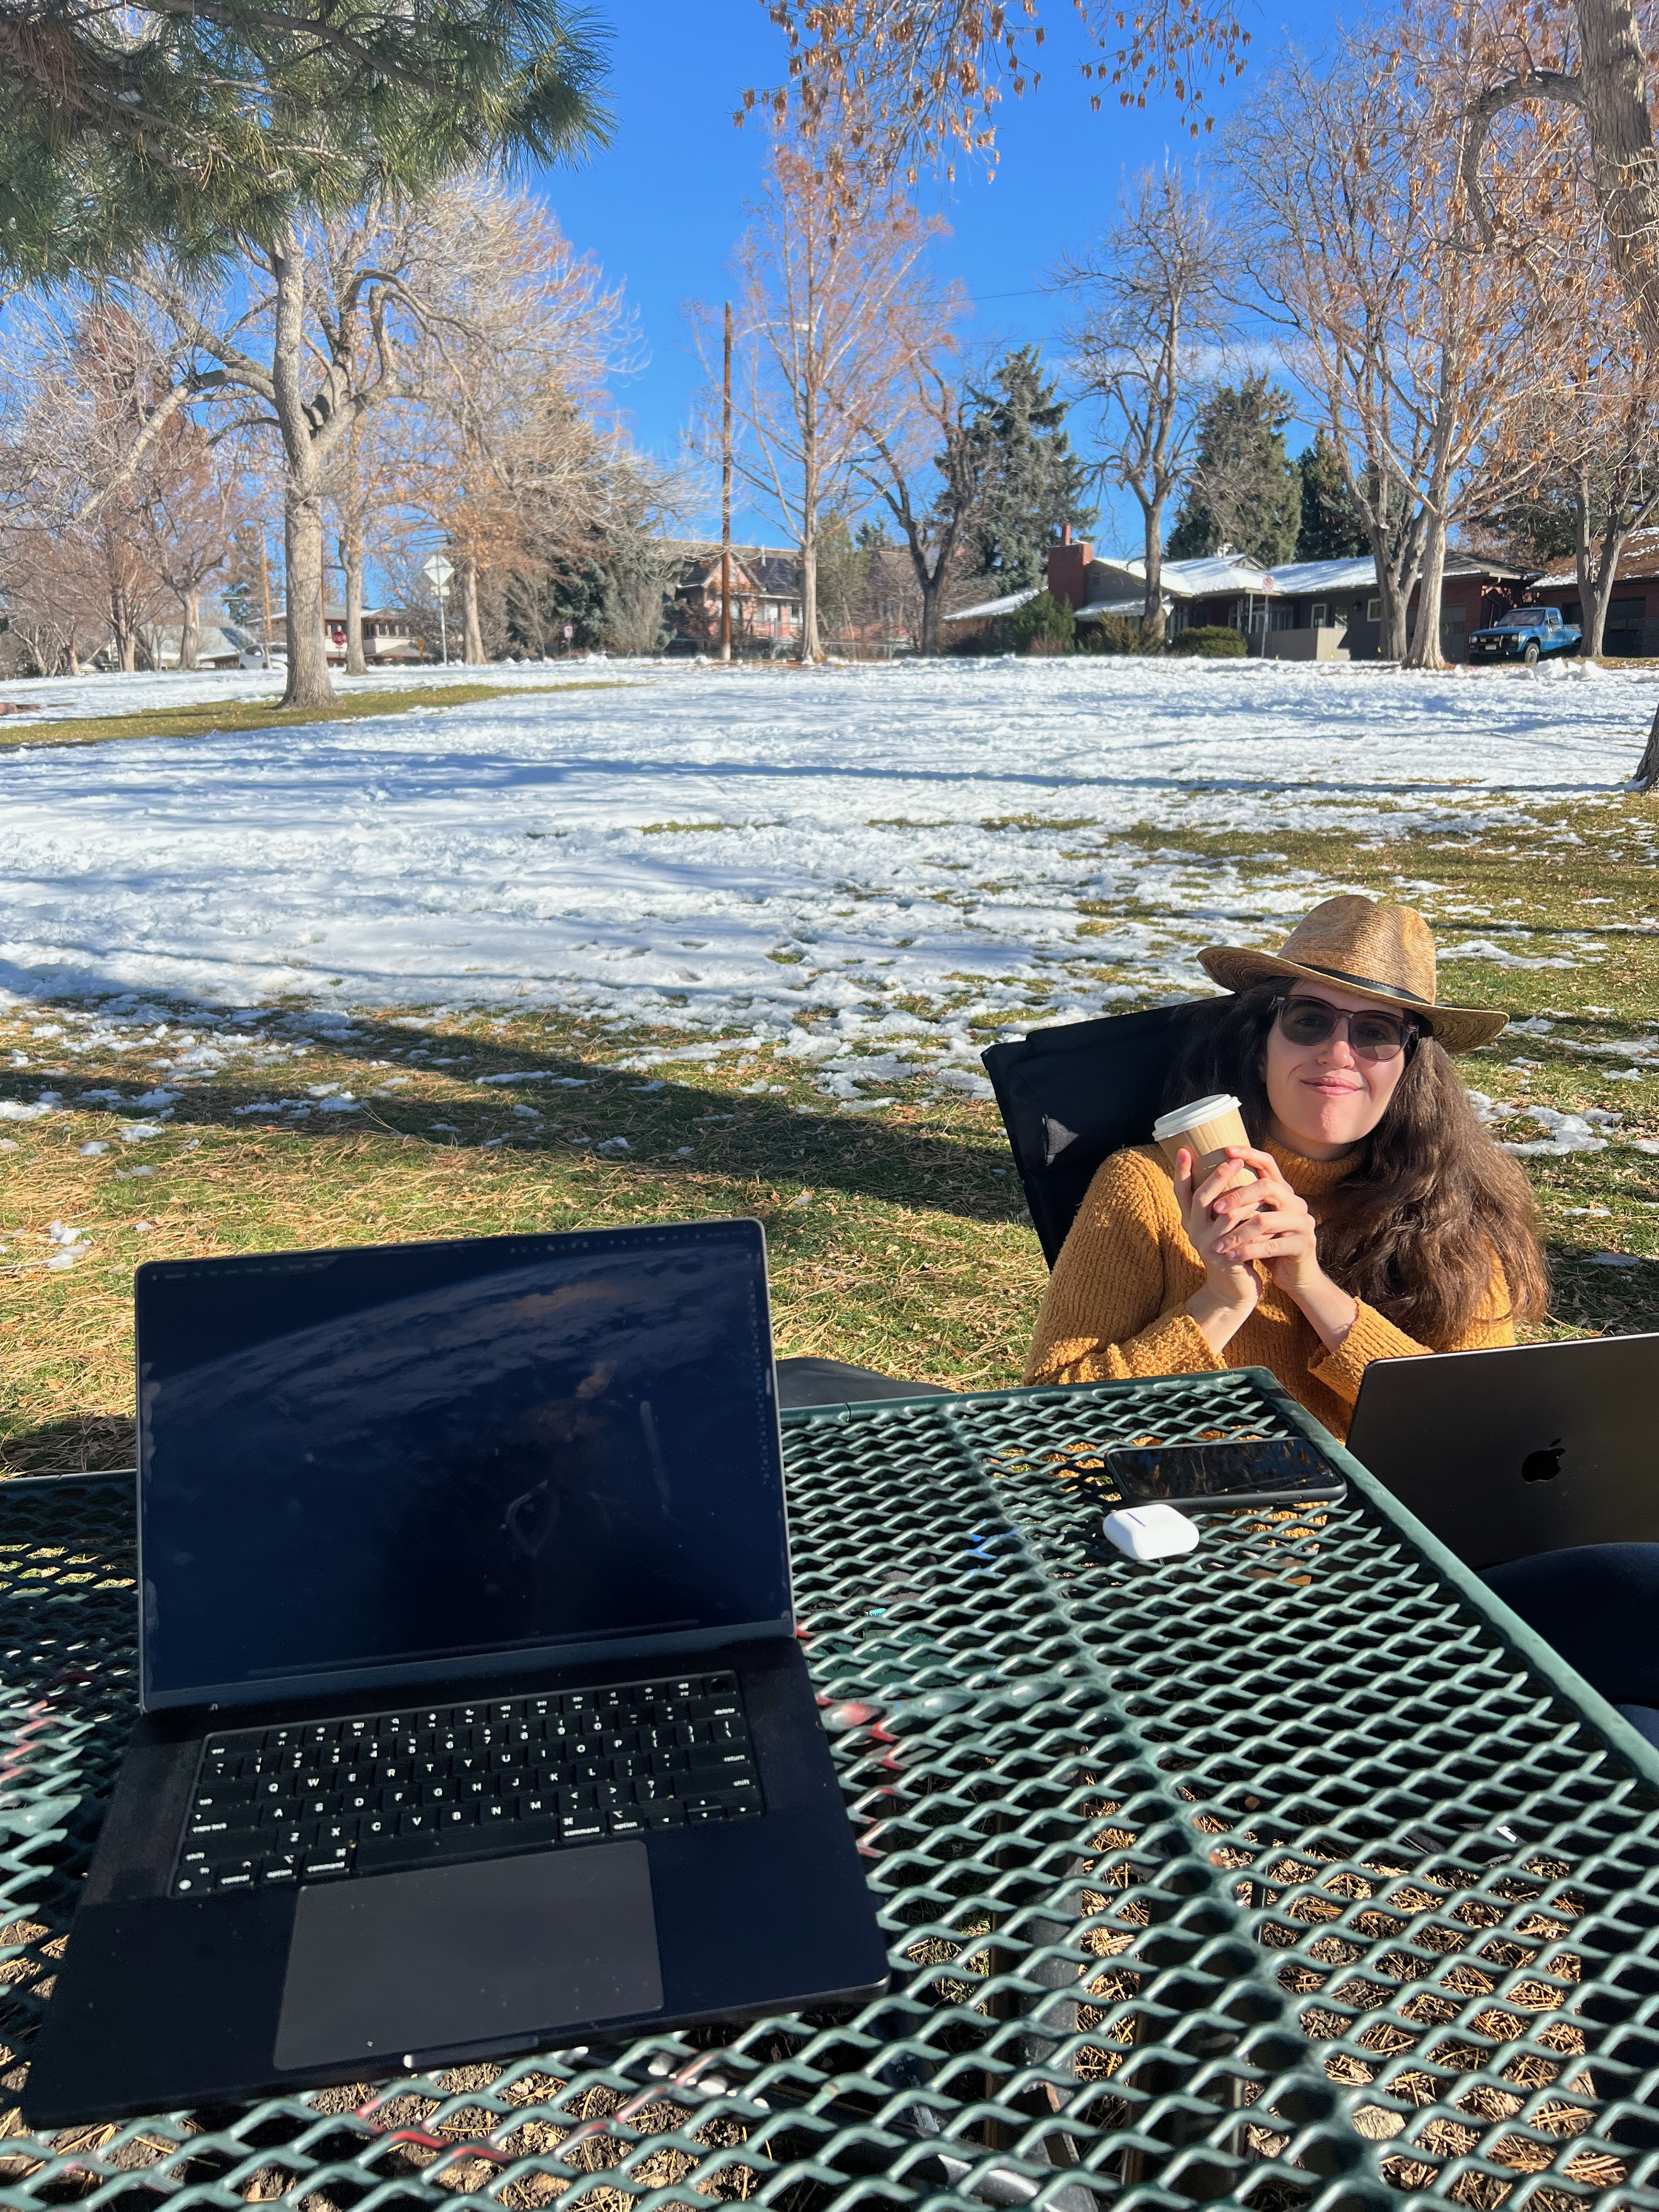
Bugs are kinda just going to be a part of it. In Boulder it’s generally not bad enough to need bugspray - sunshirts, light pants, and a hood helps in the cases the bugs are out though.
Coordination #
I have a Whatsapp group where I send a message with the location and time a day or two ahead of time. I try to let people know about what to bring and what to expect. Usually, the same way you prepare for a sizable day hike is a good reference: water, layers, snacks, a packed lunch. And then the tech stuff. Between people boycotting Whatsapp and being banned from Telegram, coordinating logistics with large groups is a perpetual annoyance.
I always mention people don’t have to come for the whole time: an hour after lunch or just some early morning writing is very welcome, though I love seeing the shadows and clouds and wildlife change over the course of the day.
Posting an invite to the Boulder subreddit caused a lot of people to get angry at me for supporting Musk with the Starlink and for having the gall taking phone calls in parks I pay taxes on. In actual reality, everyone I encounter in person has been somewhere between indifferent to curious and stoked about the concept.
In conclusion
Outdoor computing is something that lets me combine some of my favorite things: the outdoors, computers, and hanging out. There are many ways to do it; what’s important is that it’s fun and comfortable. It’s also something that lets me get nerdy about fun things, and share the excitement with others as well. I hope you found this helpful in some way and get to explore working outside in a way that works for you.
Appendix
Favorite spots in Boulder, CO #
- Our backyard: so many hilarious birds, nearby kitchen, shade, reclining chairs, easy access to toilet, solid internet
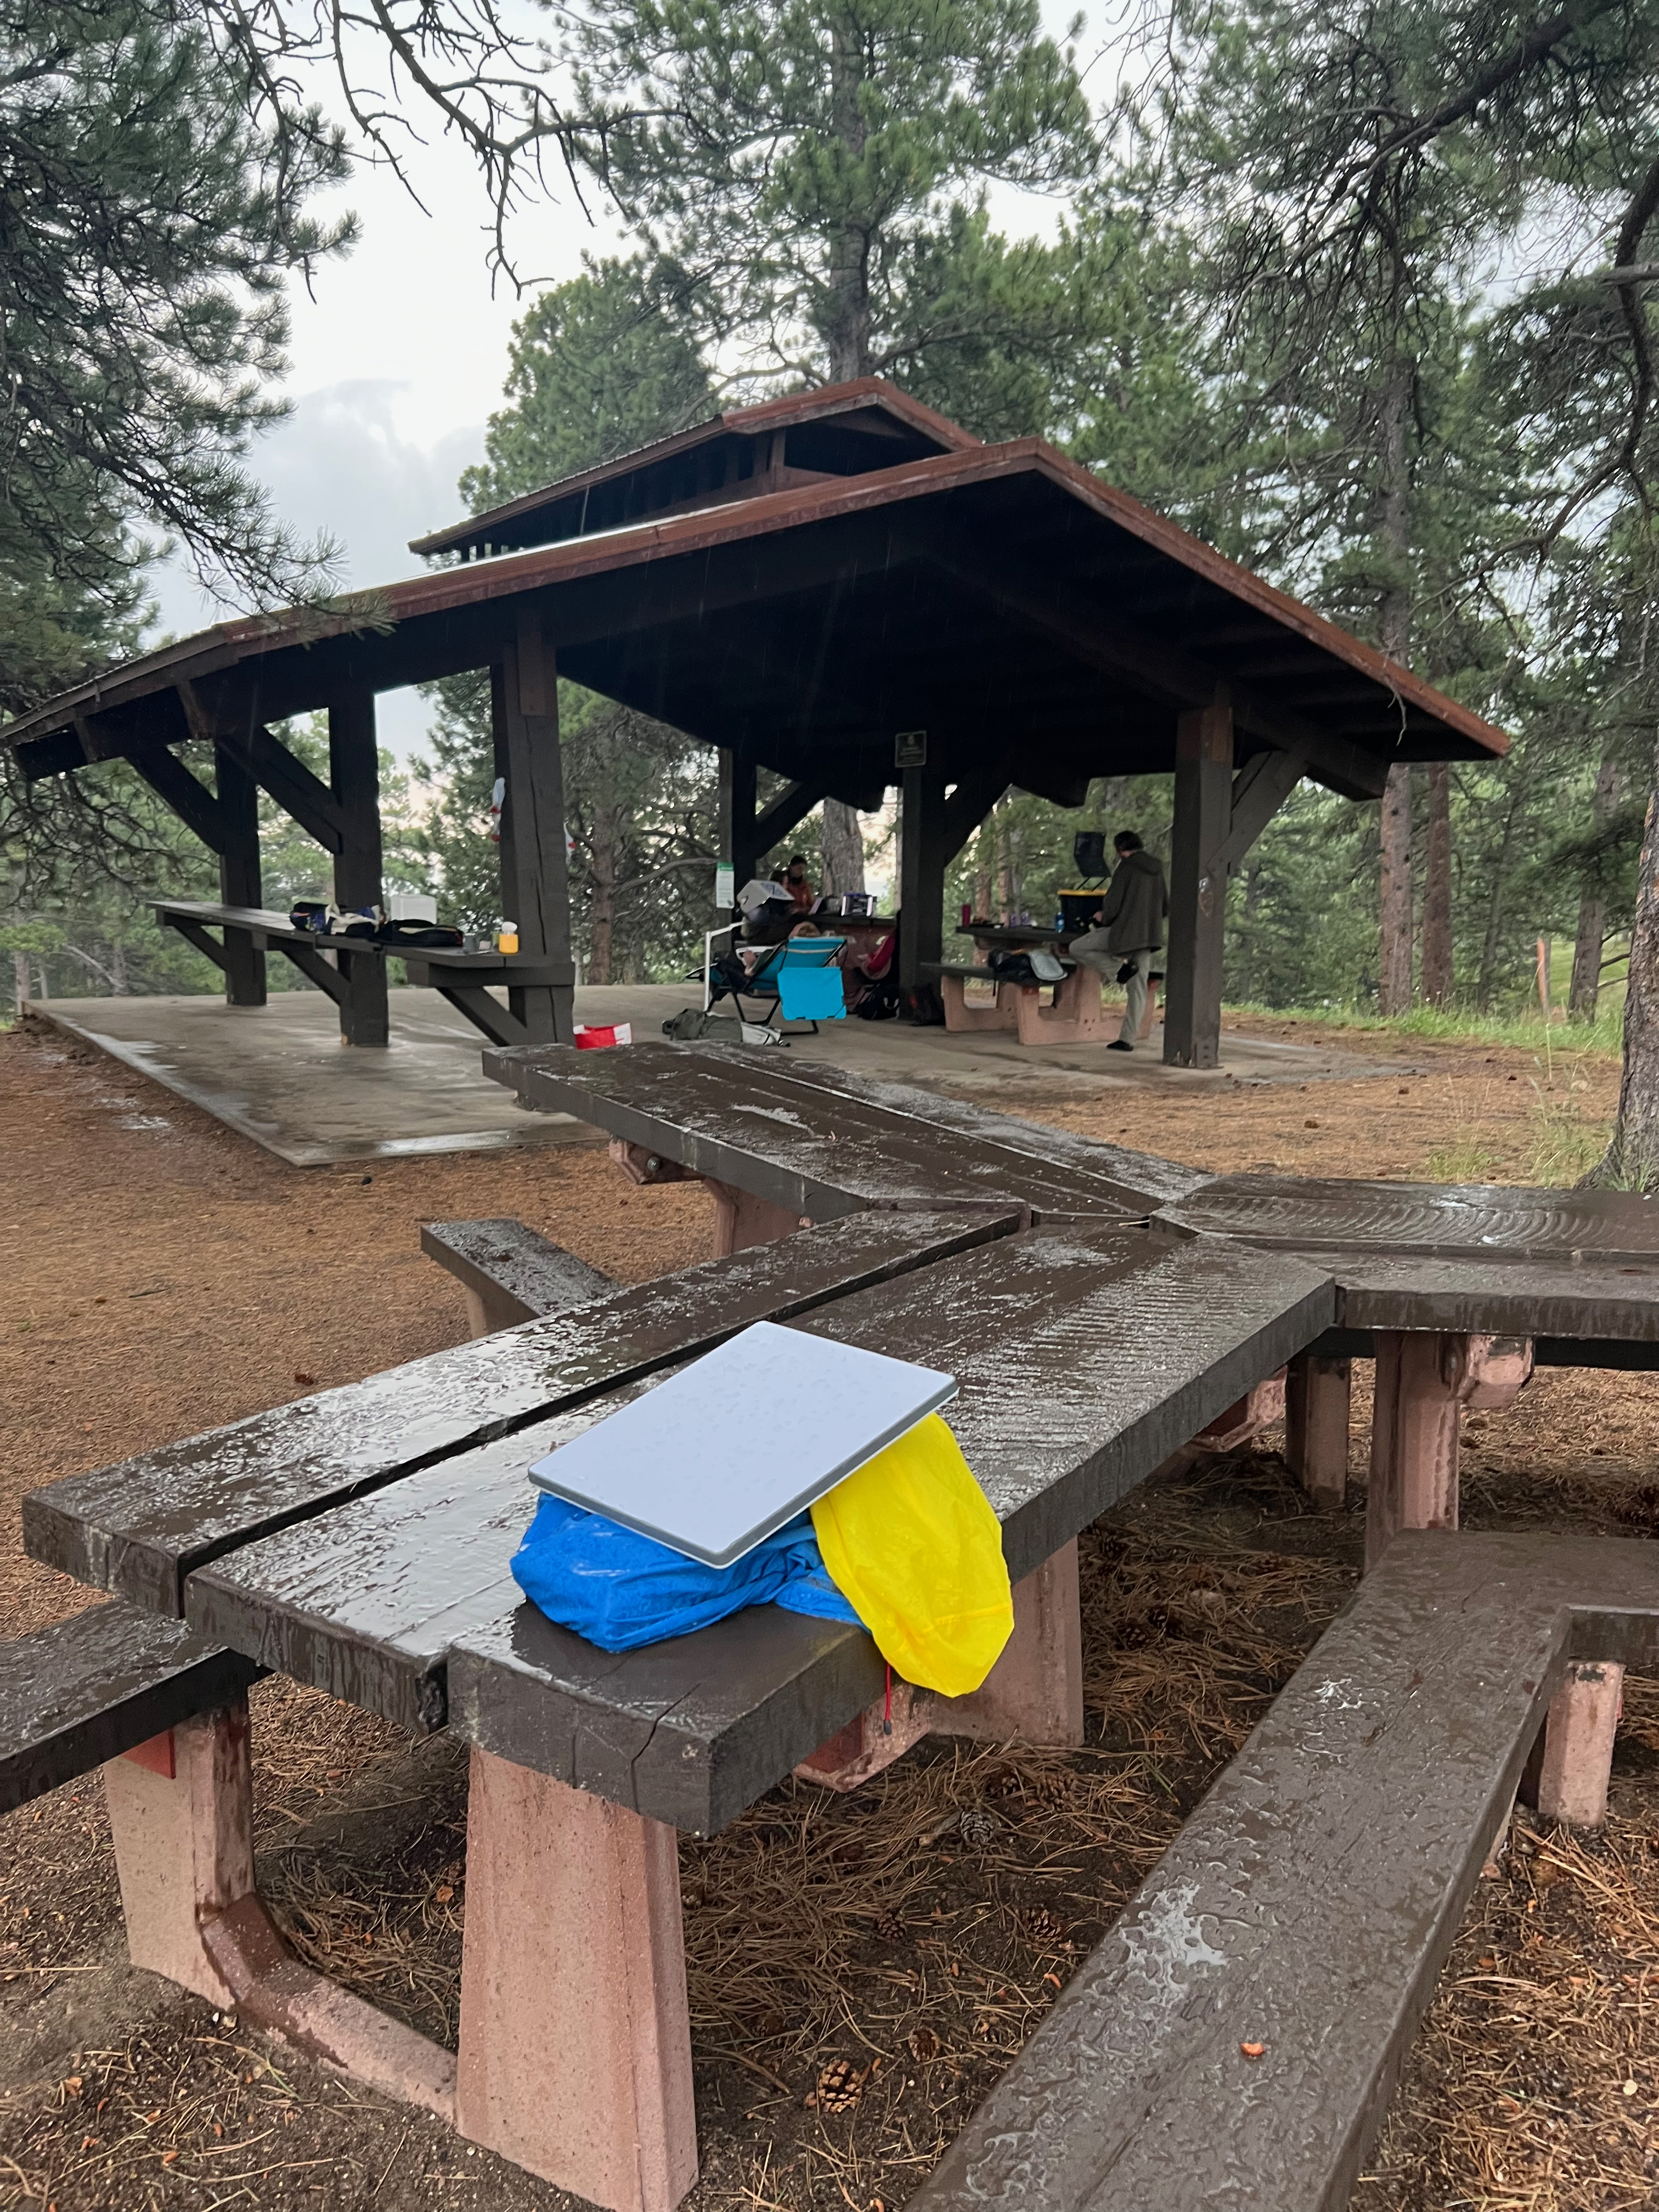
- Flagstaff Mountain (Google Maps): 90 minute bike ride, 60 minute hike, or 15 minute drive to get up 1,400 feet or so above the city. There are pit toilets and a giant shelter to hide from the sun (and rain) under.
- Eben G Fine Park (Google Maps): downtown, easy to walk to from offices and homes nearby. A creek to jump into, food options nearby, nice public bathrooms, and lots of grass and trees.
- North Boulder Park (Google Maps): big grassy open park with trees at either end, and a shelter in case of rain with bathrooms and an occasional coffee cart.
Starlink Mini + Battery Configuration #
There’s a couple options with the Starlink Mini. It has a router and a wifi antenna built in - so if the positioning allows, the best and easiest configuration is just plugging the Starlink in to a battery, and connecting to it wirelessly!
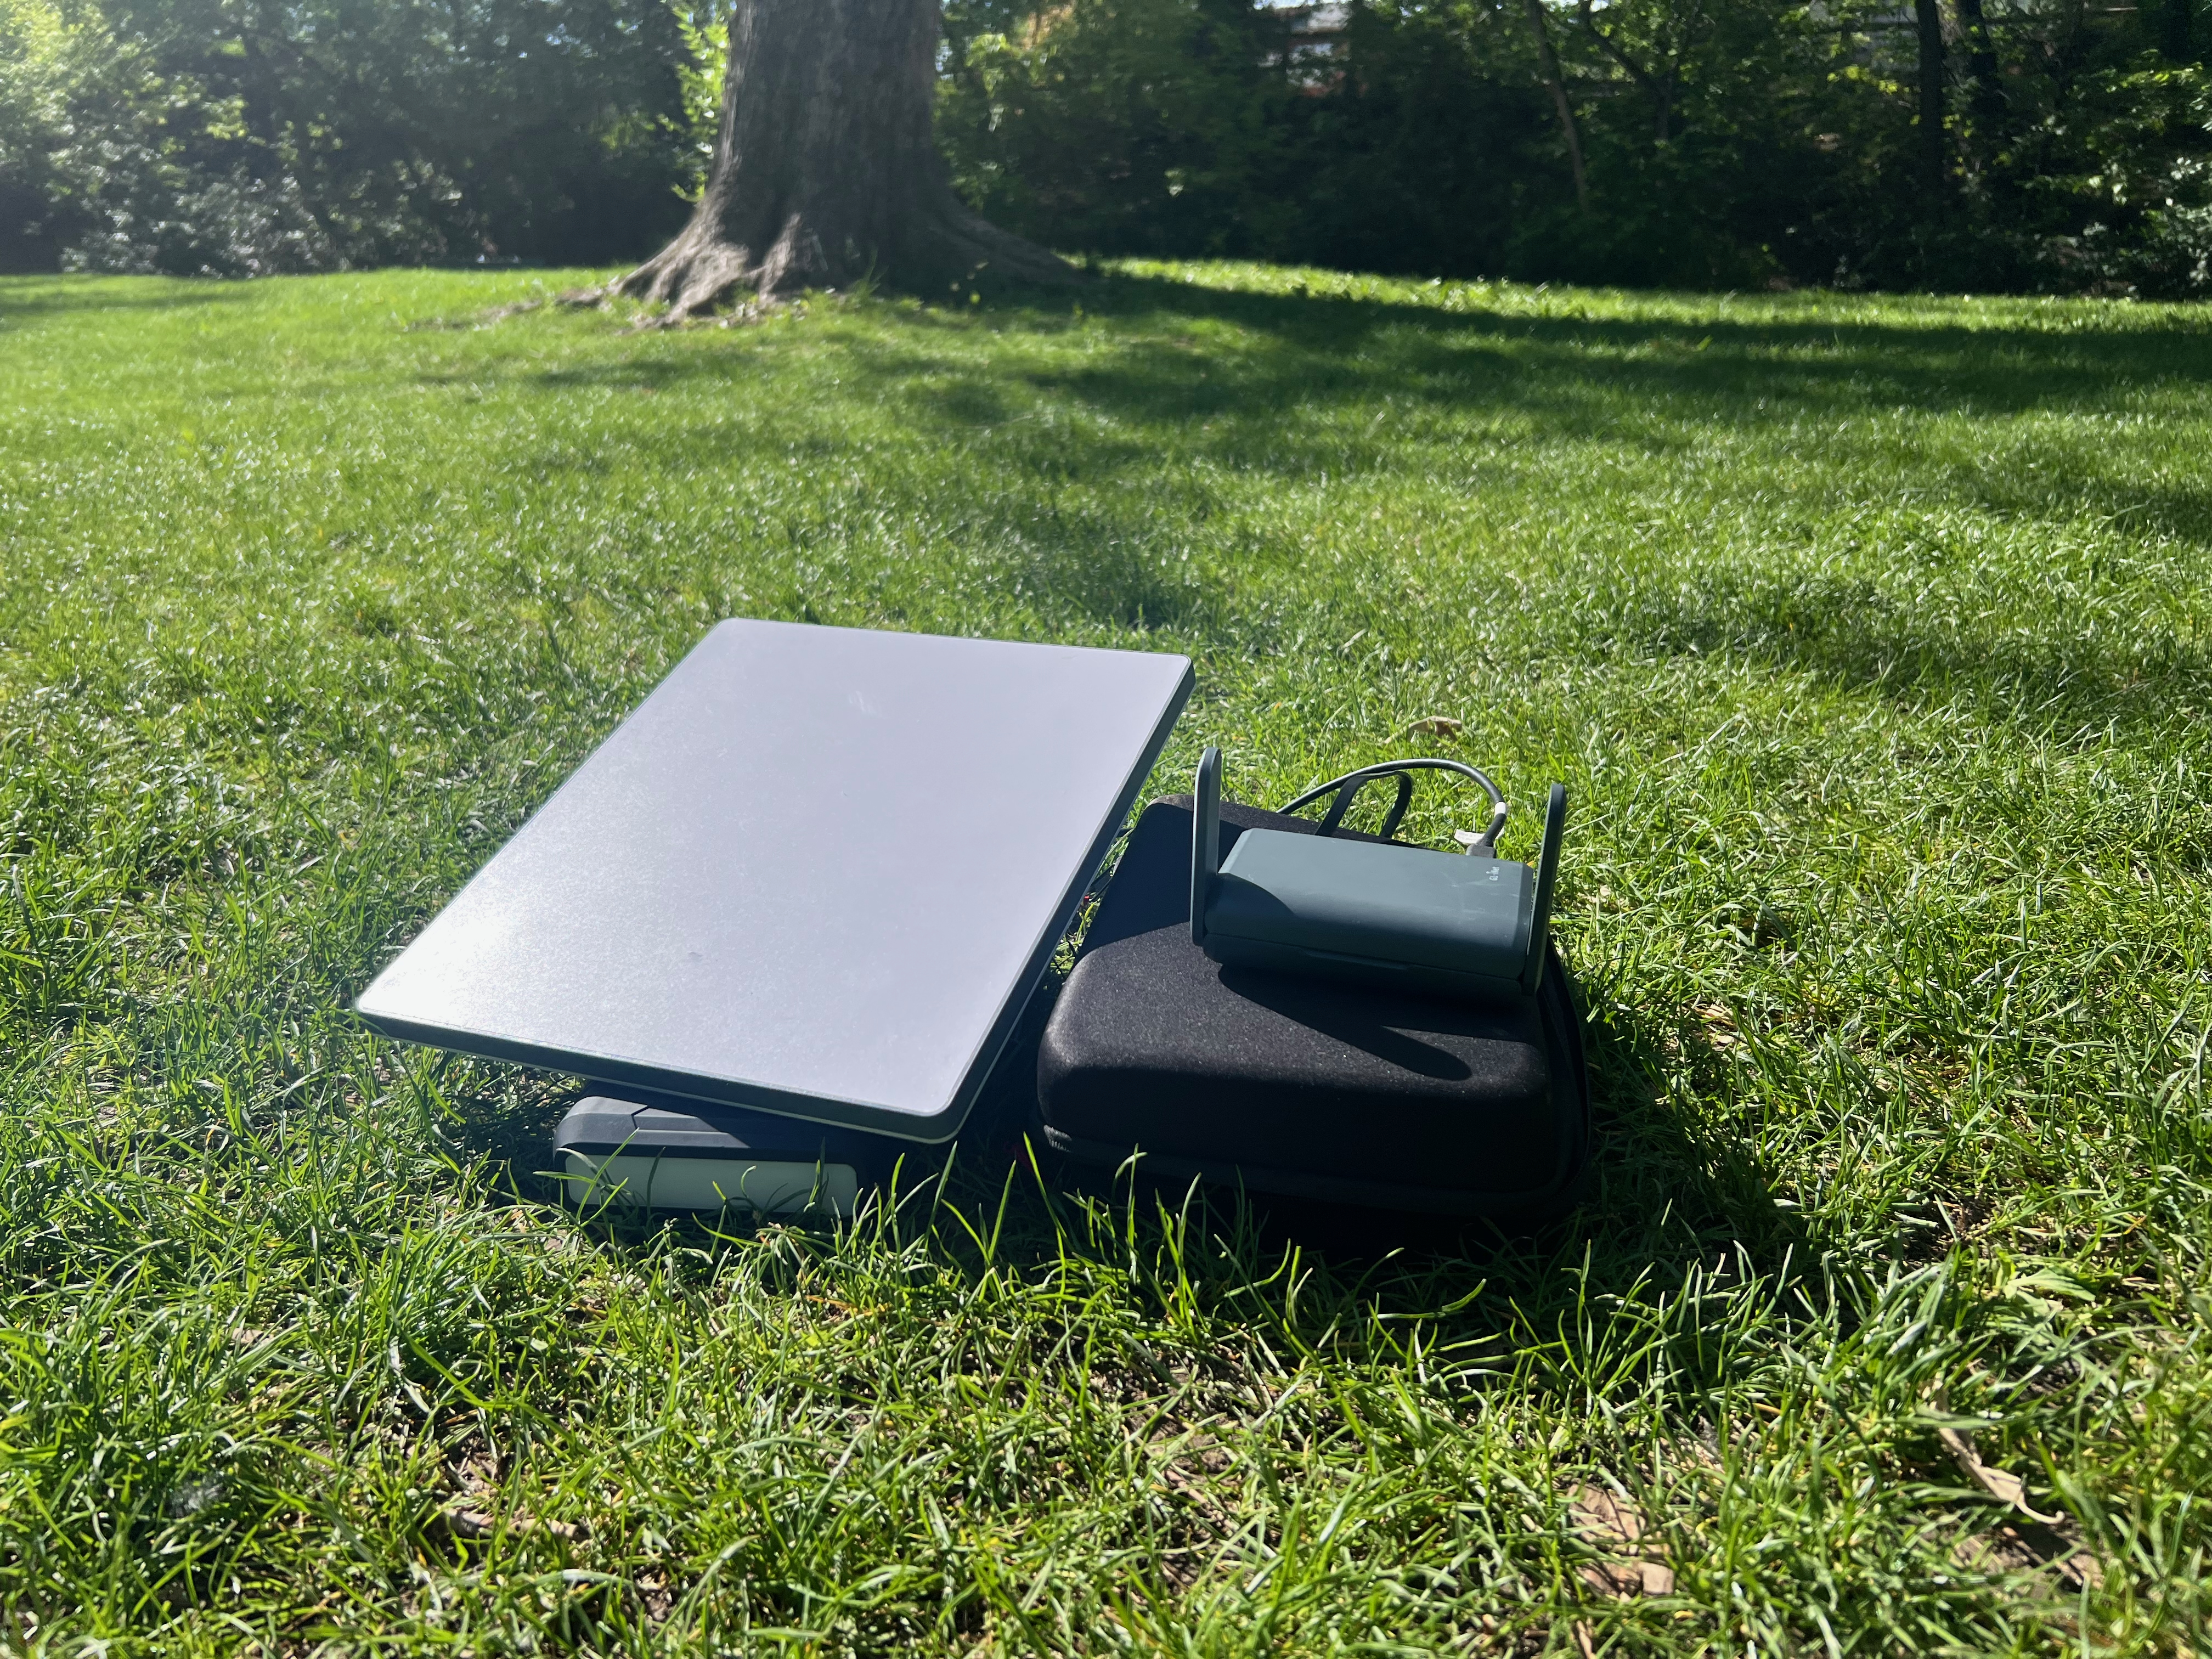
However, the best place to sit isn’t always the best place for the Starlink. Sometimes you want to be closer to the shade of the trees or under a picnic roof covering while the Starlink sits in a clearing nearby.
Here is a diagram I made for people to be able to set it up when I’m not there:
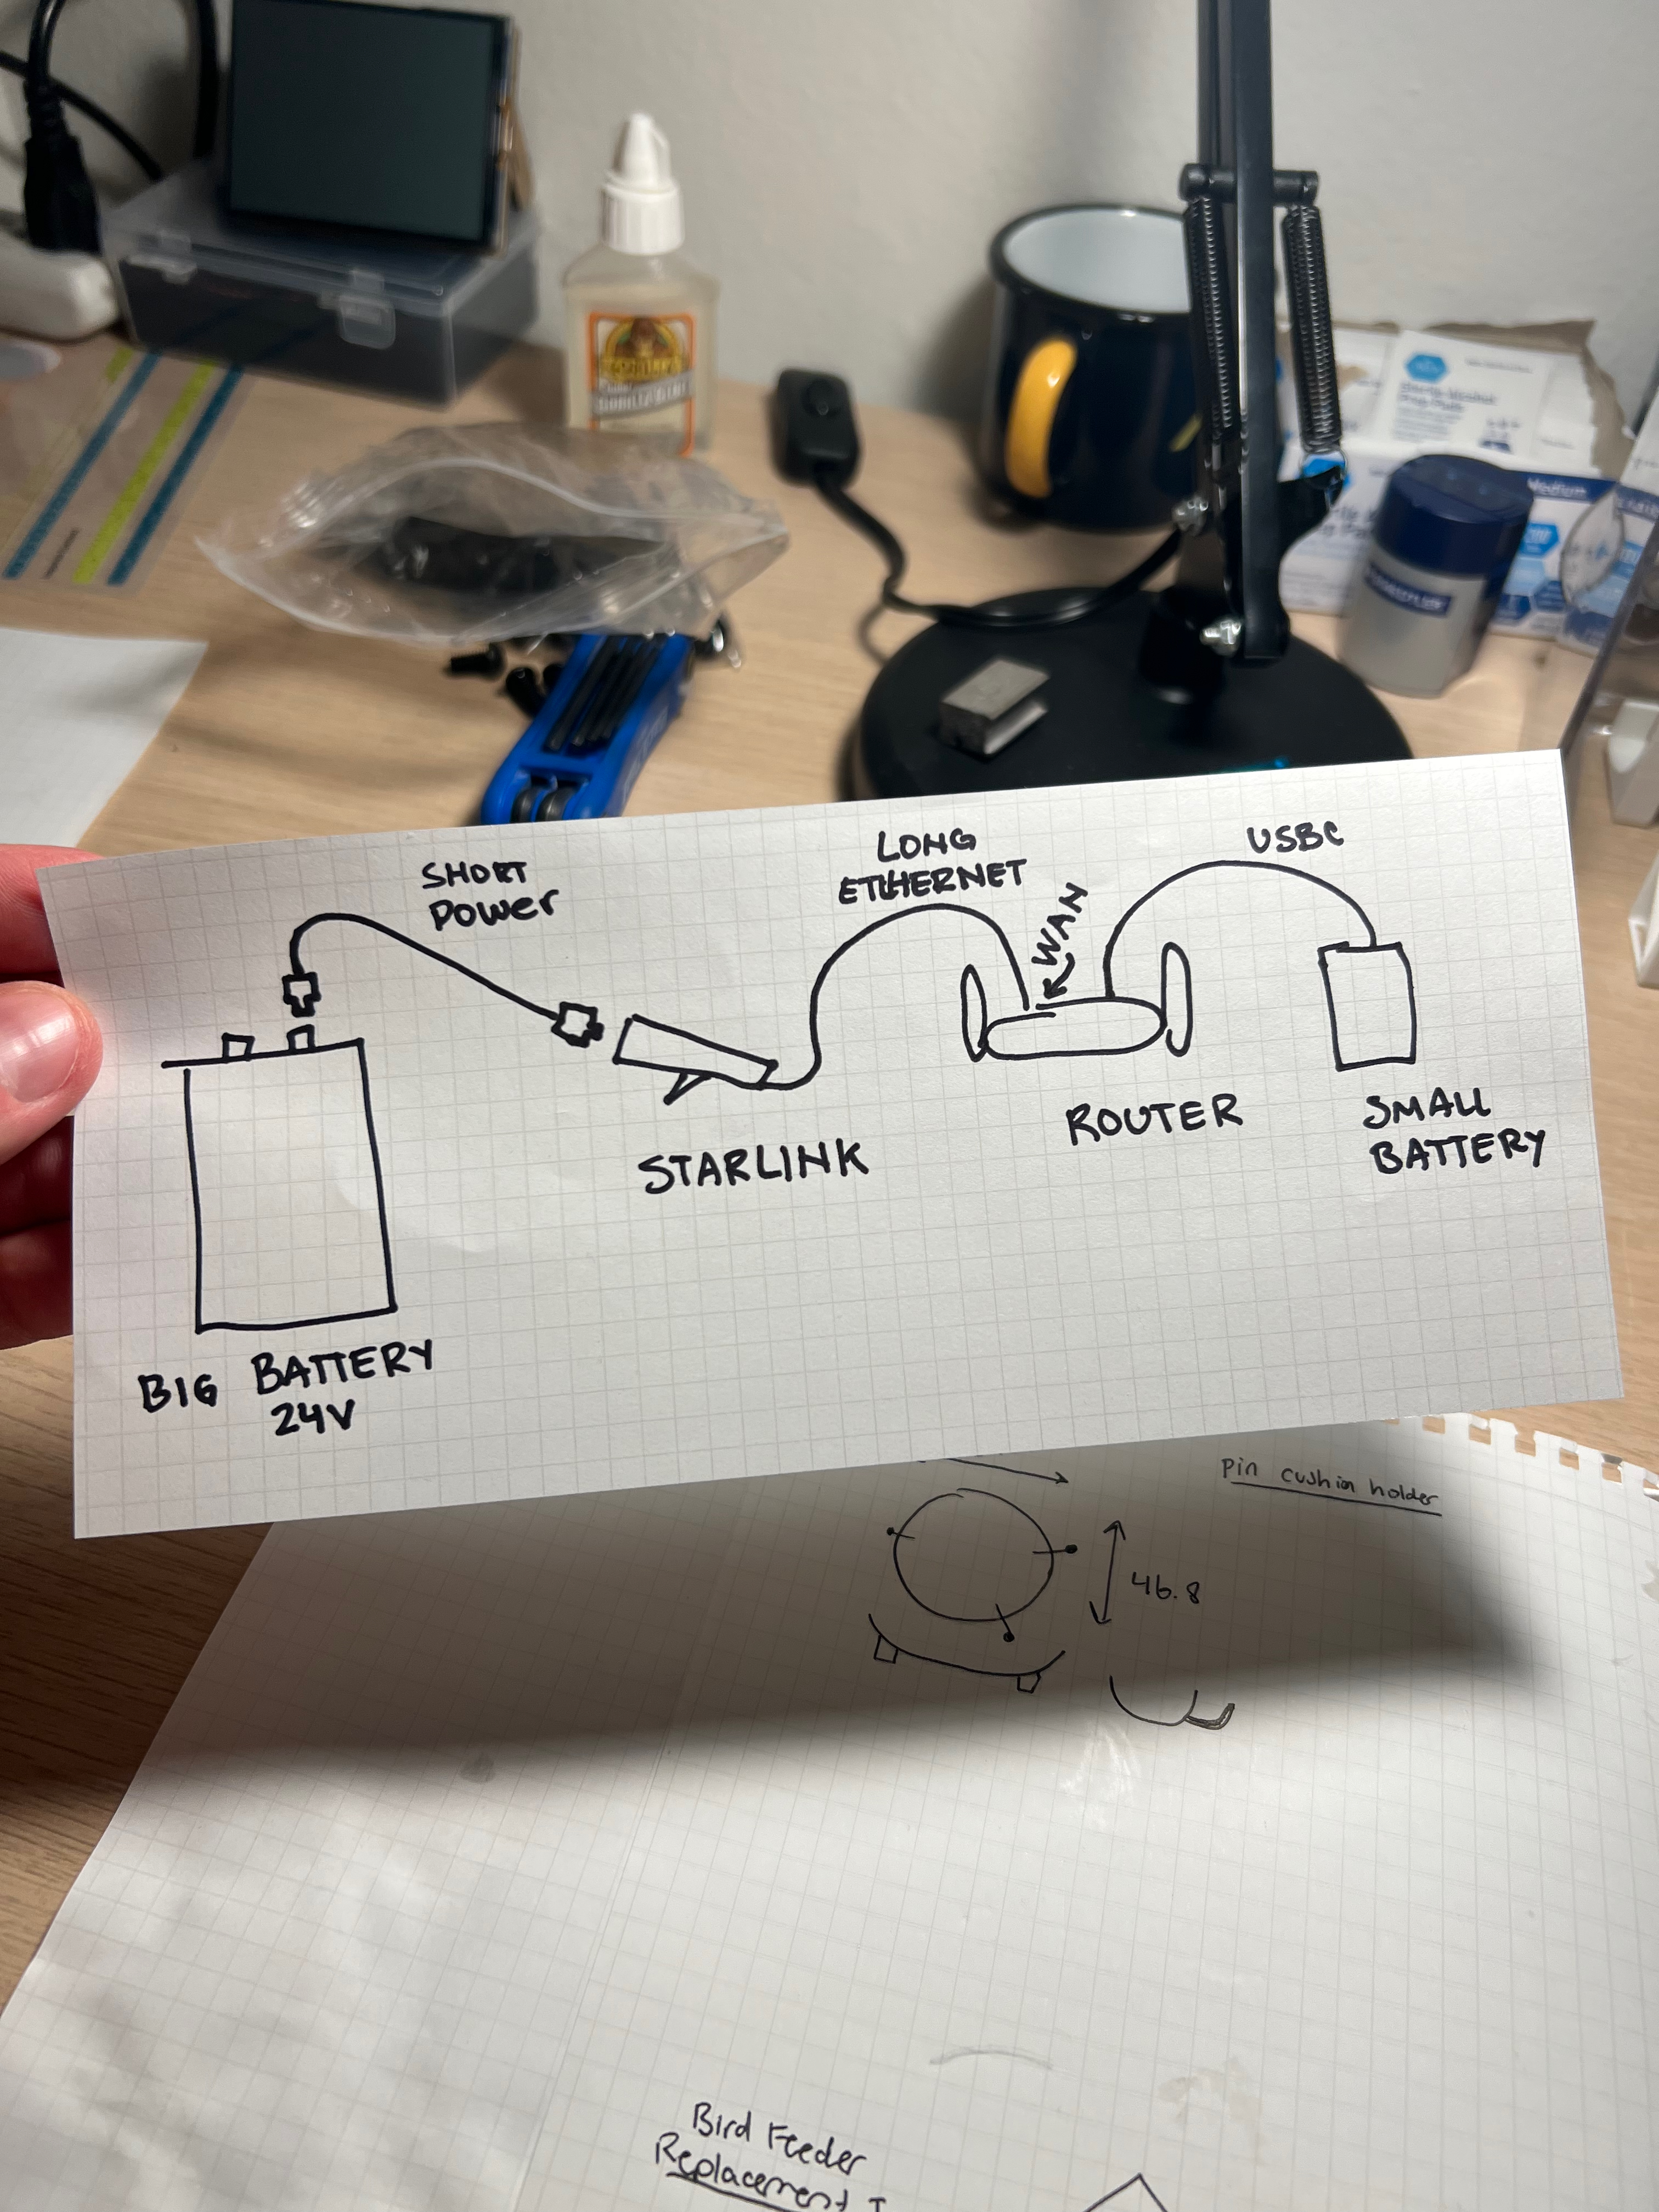
Full configuration and parts list for ~8 hours of runtime:
- Slate GL-AXT1800 Router (Amazon, $120 - any travel router would do fine here)
- USB C cable for power
- Starlink Mini (Starlink, $350)
- Barrel jack power cable (Amazon reference, $8) (or one of these USB-C to 5521 cables, $8)
- The Starlink Mini has a router built in so it can be entirely self contained. However, since I usually don’t want to be in clear sky whereas the Starlink does, I run an 50-100 ft ethernet cable (like this one on Amazon, $17) to the Starlink and set up the router in the shade.
- The Starlink needs to be put into Bypass Mode (Starlink docs) to disable the router. Note: until it’s factory reset, the Starlink will only work with an external router handling router duties.
- In my experience the Starlink pulls about 22w when in bypass mode. Heavy bandwidth, clouds, and obstructions will result in more power draw.
- I pay for the $50/month plan for 100GB. That’s enough for about 5-10 group workdays. Sometimes people pitch in $3 or $5 to help offset costs but I don’t worry too much about it.
- When not in use, Starlink offers a $10/mo “standby plan”, up from $5 a few months ago. This is pretty lame except for the fact that it makes it possible to reactivate service and receive messages even in a cellular deadspot, but I would rather have the option to fully pause service like they used to.
- 266Wh Renogy battery (Amazon, $160)
- The battery’s barrel jack output has four voltages from 12-24v. In my experience, 24v is the only one that makes the Starlink happy when powering it through the barrel jack.
- This battery will simultaneously power the travel router (~5w) alongside the Starlink (in the case they are right next to each other).
- This battery is above TSA’s 100Wh lithium battery size limit, so plan your adventures accordingly.
For shorter runs (<4 hours) a nice Anker battery (Amazon, $100) will run both the starlink and router. Not all batteries can do this - make sure it has at least 100W output. These batteries are allowed on planes (though, PSA: they should be on your person and not in use while flying, I don’t think many people realize this…)